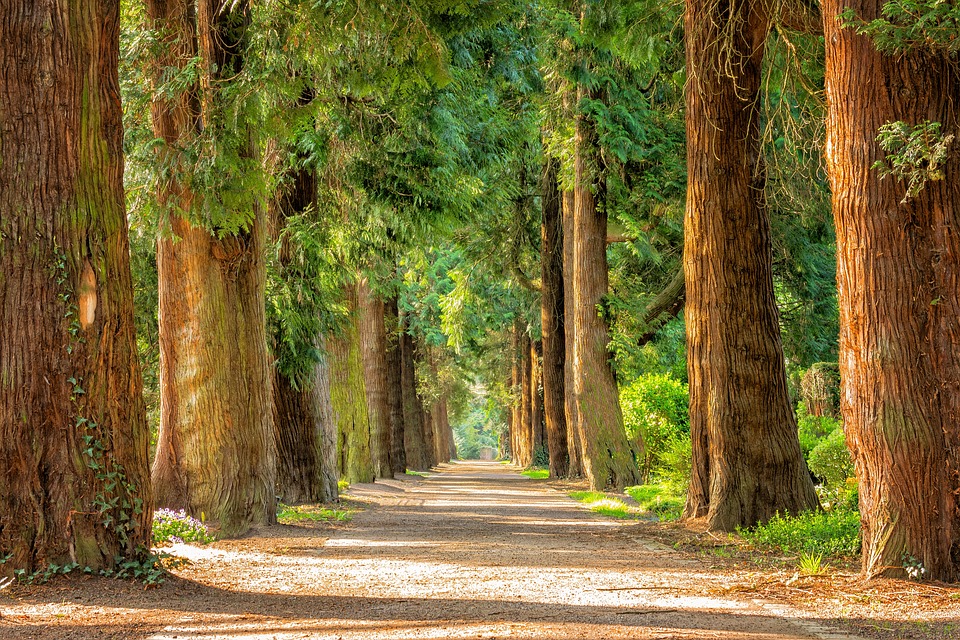
When it comes time to make those big plunges into the unknown we are bound to make lasting memories.
We Make the Dates
As I sit here today with a glass of red wine in one hand and my other hovering over the keyboard, posed to pounce like a leopard I can only think of a few things to write about. Let’s choose one of them at random and hope that the wine doesn’t make me too sappy.
There are some dates in life that you just have to remember. For instance, few of us can forget our birthdays, sure we might start forgetting how “old” we are by a few years, but as a whole you will instinctively tell somebody when they ask for it. Then there are the dates that we make for ourselves. At other times they are the ones that just happen to be placed at random, how many of you can recall the date when you finished school, got your degree, or started another one of those new challenged that life as a whole throws your way? But there are others, the special ones that we know are coming, that we choose to set ourselves, these are the ones that become the memorable moments in our lives.
What is a life if not the memories we make? Without them we would have a life that moves along at a base line.
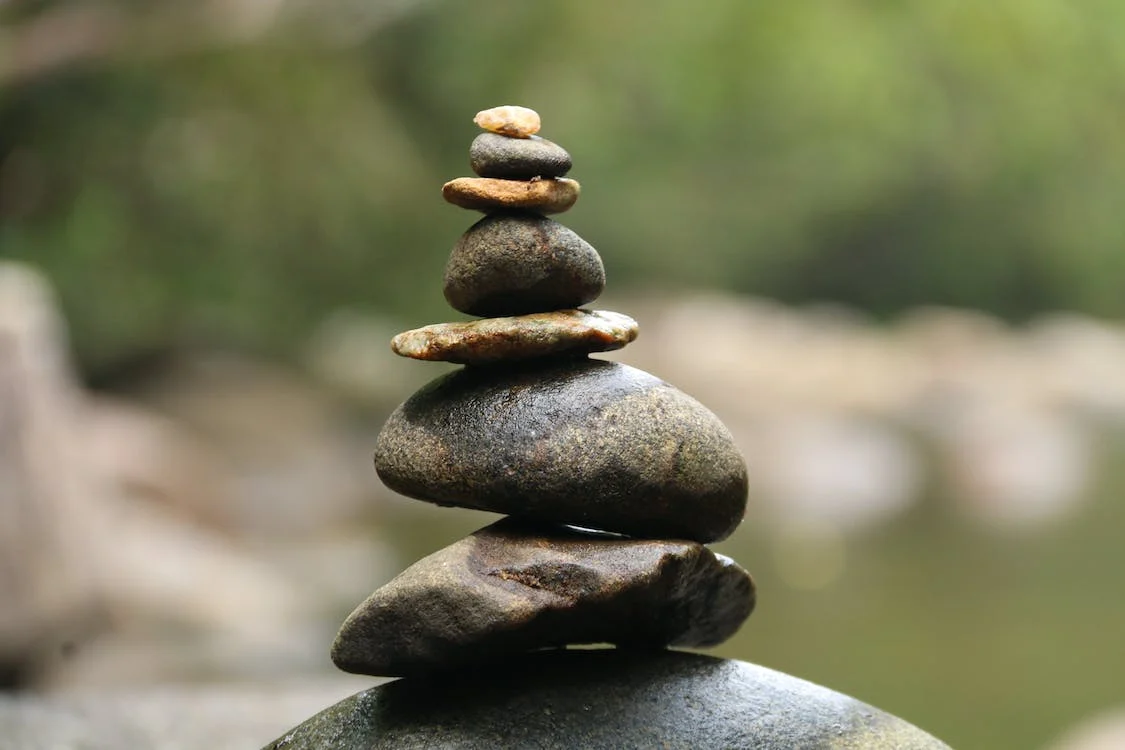
Life’s Special Moments
Savor life’s special moments, the ones we will always remember
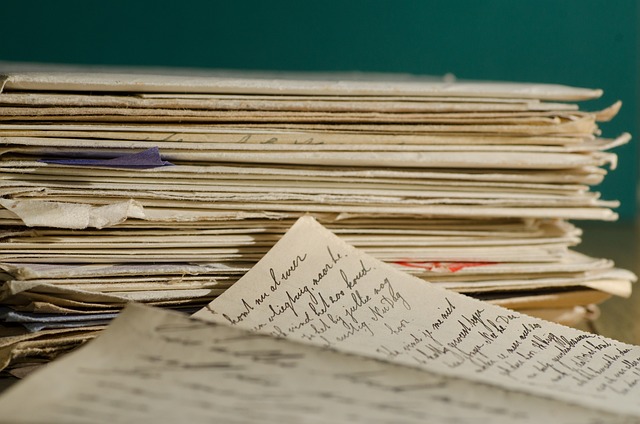
The easiest way would just be to tell them, maybe by sending a notification in the mail, you know the old fashioned way. Well, that is exactly what we are doing for my sister’s wedding (and I am filling in for here maid of honor that cannot make it to the rehearsal, though I don’t get the title, nor the fame that comes with being the MoH). The wedding has been sort of on hold for over two years now. But they have decided that this it is the time. After agreeing to help, it was time to pick up the different pieces that had been laying about since it was stop and go in the preparation side of things.
I like the personal touch that it brings with it. I know a lot of couples have been opting for the more digital route, ie. just asking people via WhatsApp if they want to come or not, but that feels somehow fake to me. I mean, sure it is a directer means to an end, but at the same time, it sort of feels cheap and you fall a little bit out of the moment. This is a wedding after all and you want things to be “perfect”. At least perfect within reason. I don’t expect everything to go as planned, things never do, but they can still be perfect.
That is the great thing about planning, you prepare for a situation, then regardless of how it turns out you did you best to make it work. Weddings are like that, I don’t think that any wedding has ever gone off just the way it was planned to. That variation gives you a little surprise, and often makes things better in the end. But since it was planned it will go smoother, no matter what happens. I think that is what makes life fun. Those little surprises along the way. Do I make a grocery list? Sure, but I don’t always get everything that I wanted, and sometimes, just sometimes a few other odds and ends appear magically in the shopping cart.
You could describe the preparations for a wedding in much the same way.
Not everyone who gets a Save the Date card sent to them for our wedding will come. That’s life. Still, this leaves some, my sister’s fiancee included with the question, why. It is hard to explain this to a penny pincher, but thankfully my parent’s are paying for the whole thing so he doesn’t have much say.
Why We Savor the Date?
So why spend money on these cards when you are already going to be sending out invitations for the wedding? My sister’s fiancee sort of asked. Well, there is an easy explanation, for one you can send out the prior anytime, and the latter only really gets sent shortly before the wedding leaving a shorter amount of time for your guests to react and you to plan. That being said, it is also a chance to touch base with some of your potential guests and get a feel for what the guest list really looks like.
For one, not everybody that you send the cards out to will actually come. When DH and I got married we had it go like this, about 10% of the people we reminded to save our wedding date actually touched base with me and let us know in advance that they couldn’t come. This was to be expected because we choose a date when a lot of people are away on vacation and it was clear that they had made plans way in advance. There was an up side to this, we didn’t need to send them invitations with an RSVP, it saved us money and made things slightly easier. Oddly, some of those who did say that they would make it ended up being no shows so I guess you have to plan for that as well. My BiL told me that since we were getting married in shoulder season people would be booking last minute travel options since it was all around cheaper to travel and they might not have had the plans laid out when they agreed to come. Wedding at like that, they are like life, they are full of little surprises.
On a side note, I hadn’t heard the term shoulder season used as an expression before then, and as it turns out, shoulder season really is a thing.
Traveling during shoulder season, the time between the high season and off-season, means moderate expenses and manageable weather.Thanks Investopedia.
Thankfully her wedding will be in the spring so she won’t be competing with that, but I am sure something else will impede some from coming. Our guest list is pretty long though, her husband has a really big family with a lot of aunts, uncles, siblings (most have children already) and mine is biggish – not huge – but for lack of a better word biggish. That means we will be hosting over two hundred guests. My parents are willing to save on a couple of invitations with numbers like that. When we got married DH and I covered the cost of the wedding ourselves, since we were both established. And before you point out that we wouldn’t be so conscious if we were to have our parents pay, we are both super frugal and wouldn’t want anyone else to have to pay for the extravagance that a lot of people seem to opt for for their weddings.
That’s it from New Berry for today!